This is the information about AForms Eats PRO v1.0.2. Combination products are a feature of the PRO edition only.
What are combination products?
The McDonald’s Big Mac Meal includes a choice of drinks.
These types of products, with a choice of menu structure, are called “combination products” at AForms Eats.
Here are some examples. A course meal with a choice of appetizer and main dish is a combination product.
Another combination product is the “deli set”, which allows you to choose four of the 20 deli items available.
It’s common in restaurants.
So what happens when a customer tries to order a combination product with an actual order form?
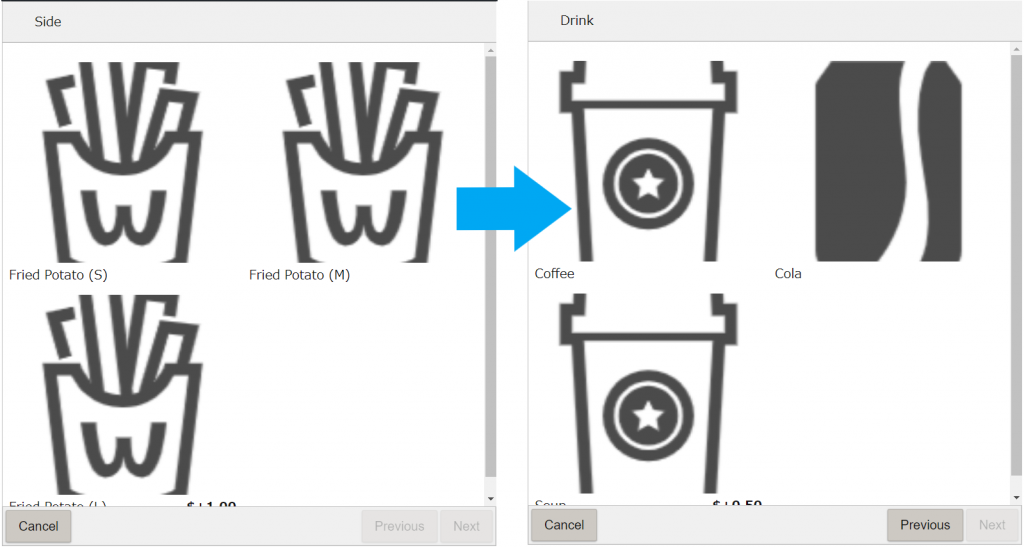
Clicking on a combination product in the order form will bring up a modal dialog for choosing the menu structure.
And every time you choose something, the navigation proceeds like a storyboard, with X, then Y… and so on.

Terminology in AForms Eats
Furthermore, I’ll explain the terminology used in AForms Eats.
We call the aforementioned “appetizers” or “main dishes” of a course meal “choice groups”.
It’s a group of things that are chosen.
We also call the products of choice, “charred broccoli with shishito peppers and pickled onions” or “Roasted duck with an orange-ginger glaze”, “choice products”.
These words will also appear in the software, so please remember them.
How to make combination products
Combination products are the regular products in AForms Eats. However, you can set a “selectable structure” within it.
In other words, a product with a choice of structure is treated as a combination product.
A “choice group” is a group of options.
And the options in the choice group are “choice products”.
Now, let’s take a detailed look at how to make it.
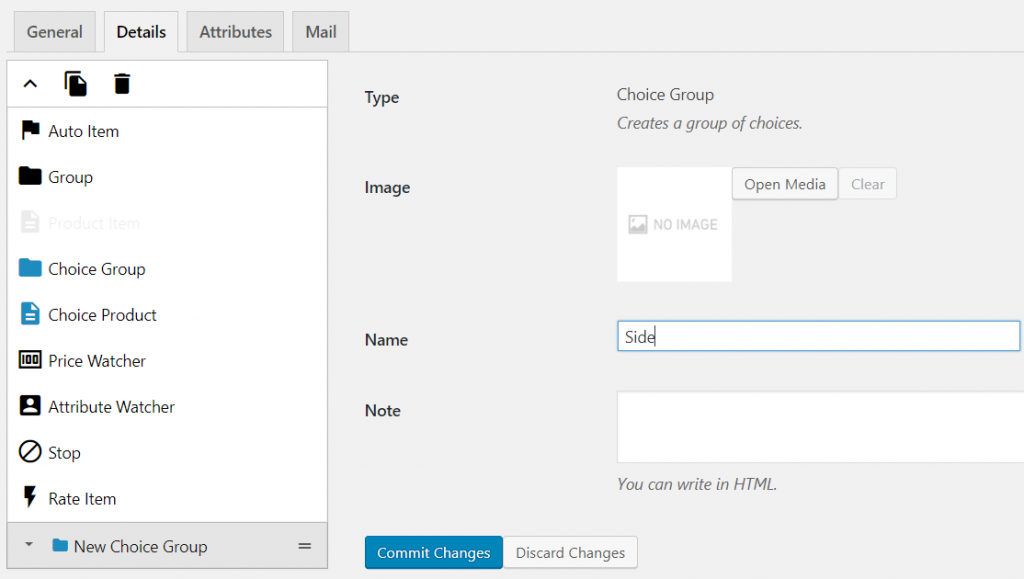
1. Building a Choice Group
First, you should build a choice group.
Choice groups do not appear on the actual order screen even though they are added to the form.
Also, the position and order in which the choice groups are placed will not affect the order screen.
So, it is better to group them appropriately at the top or bottom.

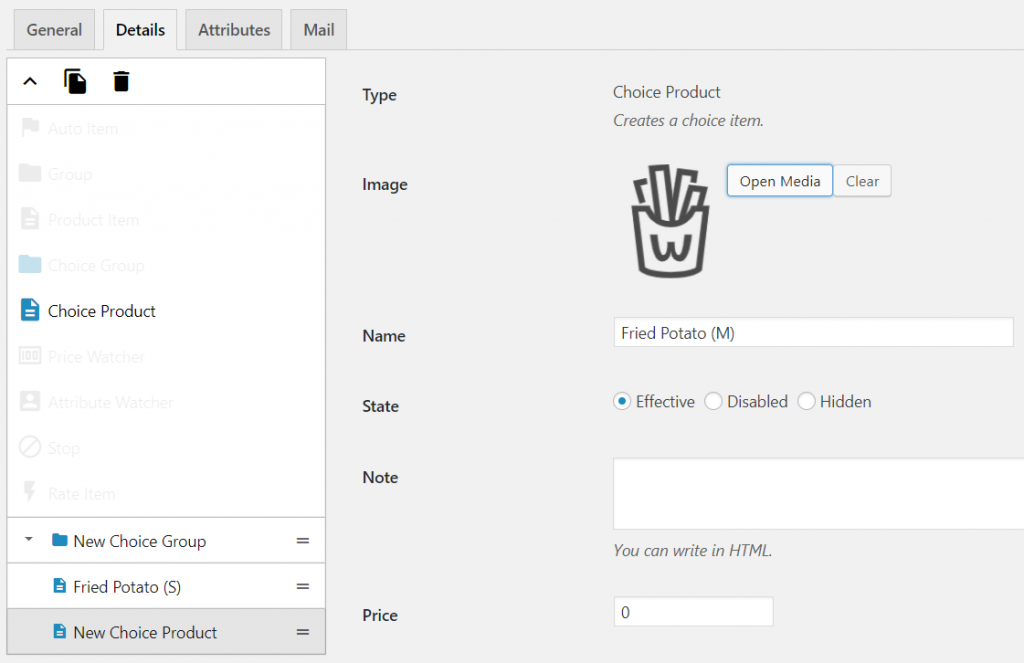
2. Adding Choice Products to a Choice Group
The next step is to add the choice products to the choice group.

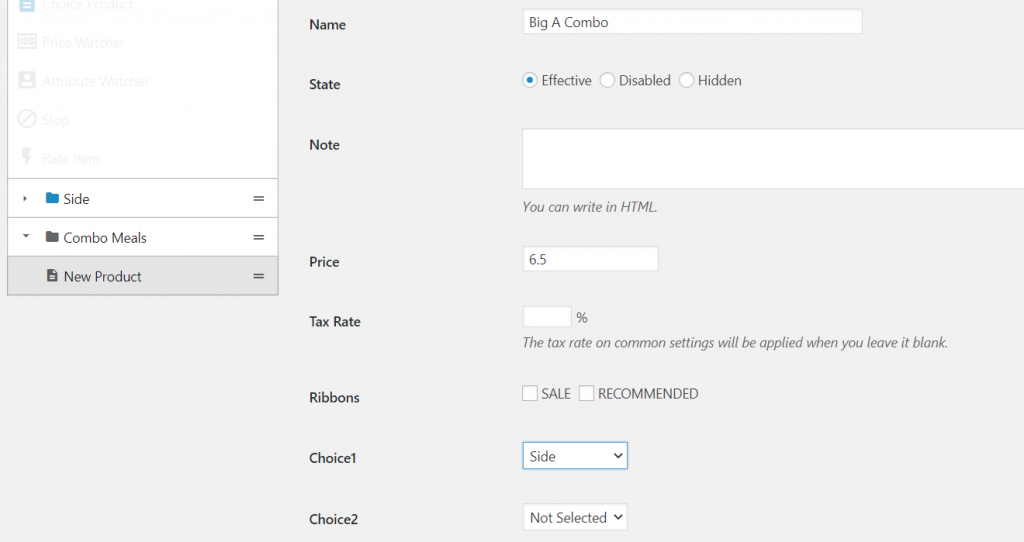
3. Building a Combination Product
Finally, the combination product is built.
The item to be used is a regular “Product”. In the regular “Group”, please add a “Product”.
You will find “Choice 1” at the bottom of the product settings item, where you can set the choice group.
The setting fields are from Choice 1 to Choice 5, and the order of the choices is the order of the storyboards.

Hints
- It’s OK to leave the price of the choice product usually blank.
If you want to create a choice product that says “+$0.5 for large fries”, enter the difference “0.5”.

 en_US
en_US ja
ja